Activating an eSIM on an iPhone is much easier in 2026 than it was just a few years ago, but a smooth setup still starts with a little preparation. Before diving into the activation process, it’s important to confirm that your iPhone supports eSIM technology. Most recent iPhone models do, and many newer versions are eSIM-only in certain regions. You’ll also want to make sure your device is unlocked or approved for use with your chosen carrier, as locked phones can limit your options. A stable internet connection is essential, since eSIM profiles are downloaded digitally rather than inserted physically. Finally, keep your carrier details handy, whether that’s a QR code, activation app, or account login credentials. Taking a few minutes to prepare ensures the activation process feels quick and frustration-free.
A: Settings → Cellular (or Mobile Data) → Add eSIM.
A: Usually yes—Wi-Fi makes the eSIM profile download reliable. Some carriers can activate over cellular, but Wi-Fi is safest.
A: Use bright lighting, clean the camera lens, keep the phone steady, or choose Enter Details Manually if provided.
A: Often yes—many iPhones support eSIM + physical SIM. You can set one for calls/texts and the other for data.
A: Restart, check for carrier settings updates, confirm the line is enabled in Cellular, and verify your plan is active with the carrier.
A: Not if you’re converting the same line—your number stays the same; you’re just changing how it’s provisioned.
A: Don’t unless you mean to—deleting may require a new activation/QR from the carrier to restore service.
A: It can if the wrong number is selected—set your preferred line in Settings → Messages and Settings → FaceTime.
A: Some providers require it; others don’t. Check the travel eSIM instructions and enable only if needed.
A: Turn off Wi-Fi, load a webpage on cellular, send an SMS, and place a call—three checks confirm the line is truly active.
Understanding Your eSIM Activation Options on iPhone
Apple offers several ways to activate an eSIM, and the method you use depends largely on your carrier. Some carriers provide a QR code that instantly installs the eSIM profile when scanned. Others allow activation directly through their app or via Apple’s built-in carrier activation during iPhone setup. In some cases, especially when switching from a physical SIM, your carrier may support eSIM conversion directly from your iPhone’s settings. Apple designed this flexibility to make eSIM adoption as seamless as possible, regardless of region or provider. Knowing which activation path your carrier supports helps you move confidently through the process without second-guessing each step.
Activating an eSIM Using a QR Code
One of the most common and reliable ways to activate an eSIM on an iPhone is by using a QR code provided by your carrier. To begin, open the Settings app and navigate to Cellular or Mobile Data, depending on your region. From there, select the option to add a new cellular plan. Your iPhone will prompt you to scan a QR code, at which point you simply use the camera to capture the code supplied by your carrier.
Once scanned, your iPhone will verify the plan and guide you through confirmation screens. Within moments, the eSIM profile downloads and activates. This method is popular because it’s fast, intuitive, and doesn’t require additional apps or phone calls.
Activating an eSIM Through a Carrier App or Automatic Setup
Many major carriers now support eSIM activation directly through their mobile apps or Apple’s automatic setup process. If your carrier offers app-based activation, you’ll typically log into your account, select the device you’re activating, and follow on-screen instructions that push the eSIM profile directly to your iPhone. Apple’s automatic setup takes this a step further by detecting eligible plans during initial device setup or after a software update. When prompted, you simply confirm the plan and allow it to install. This approach removes nearly all manual steps and is especially convenient when upgrading to a new iPhone or transferring service from an older device.
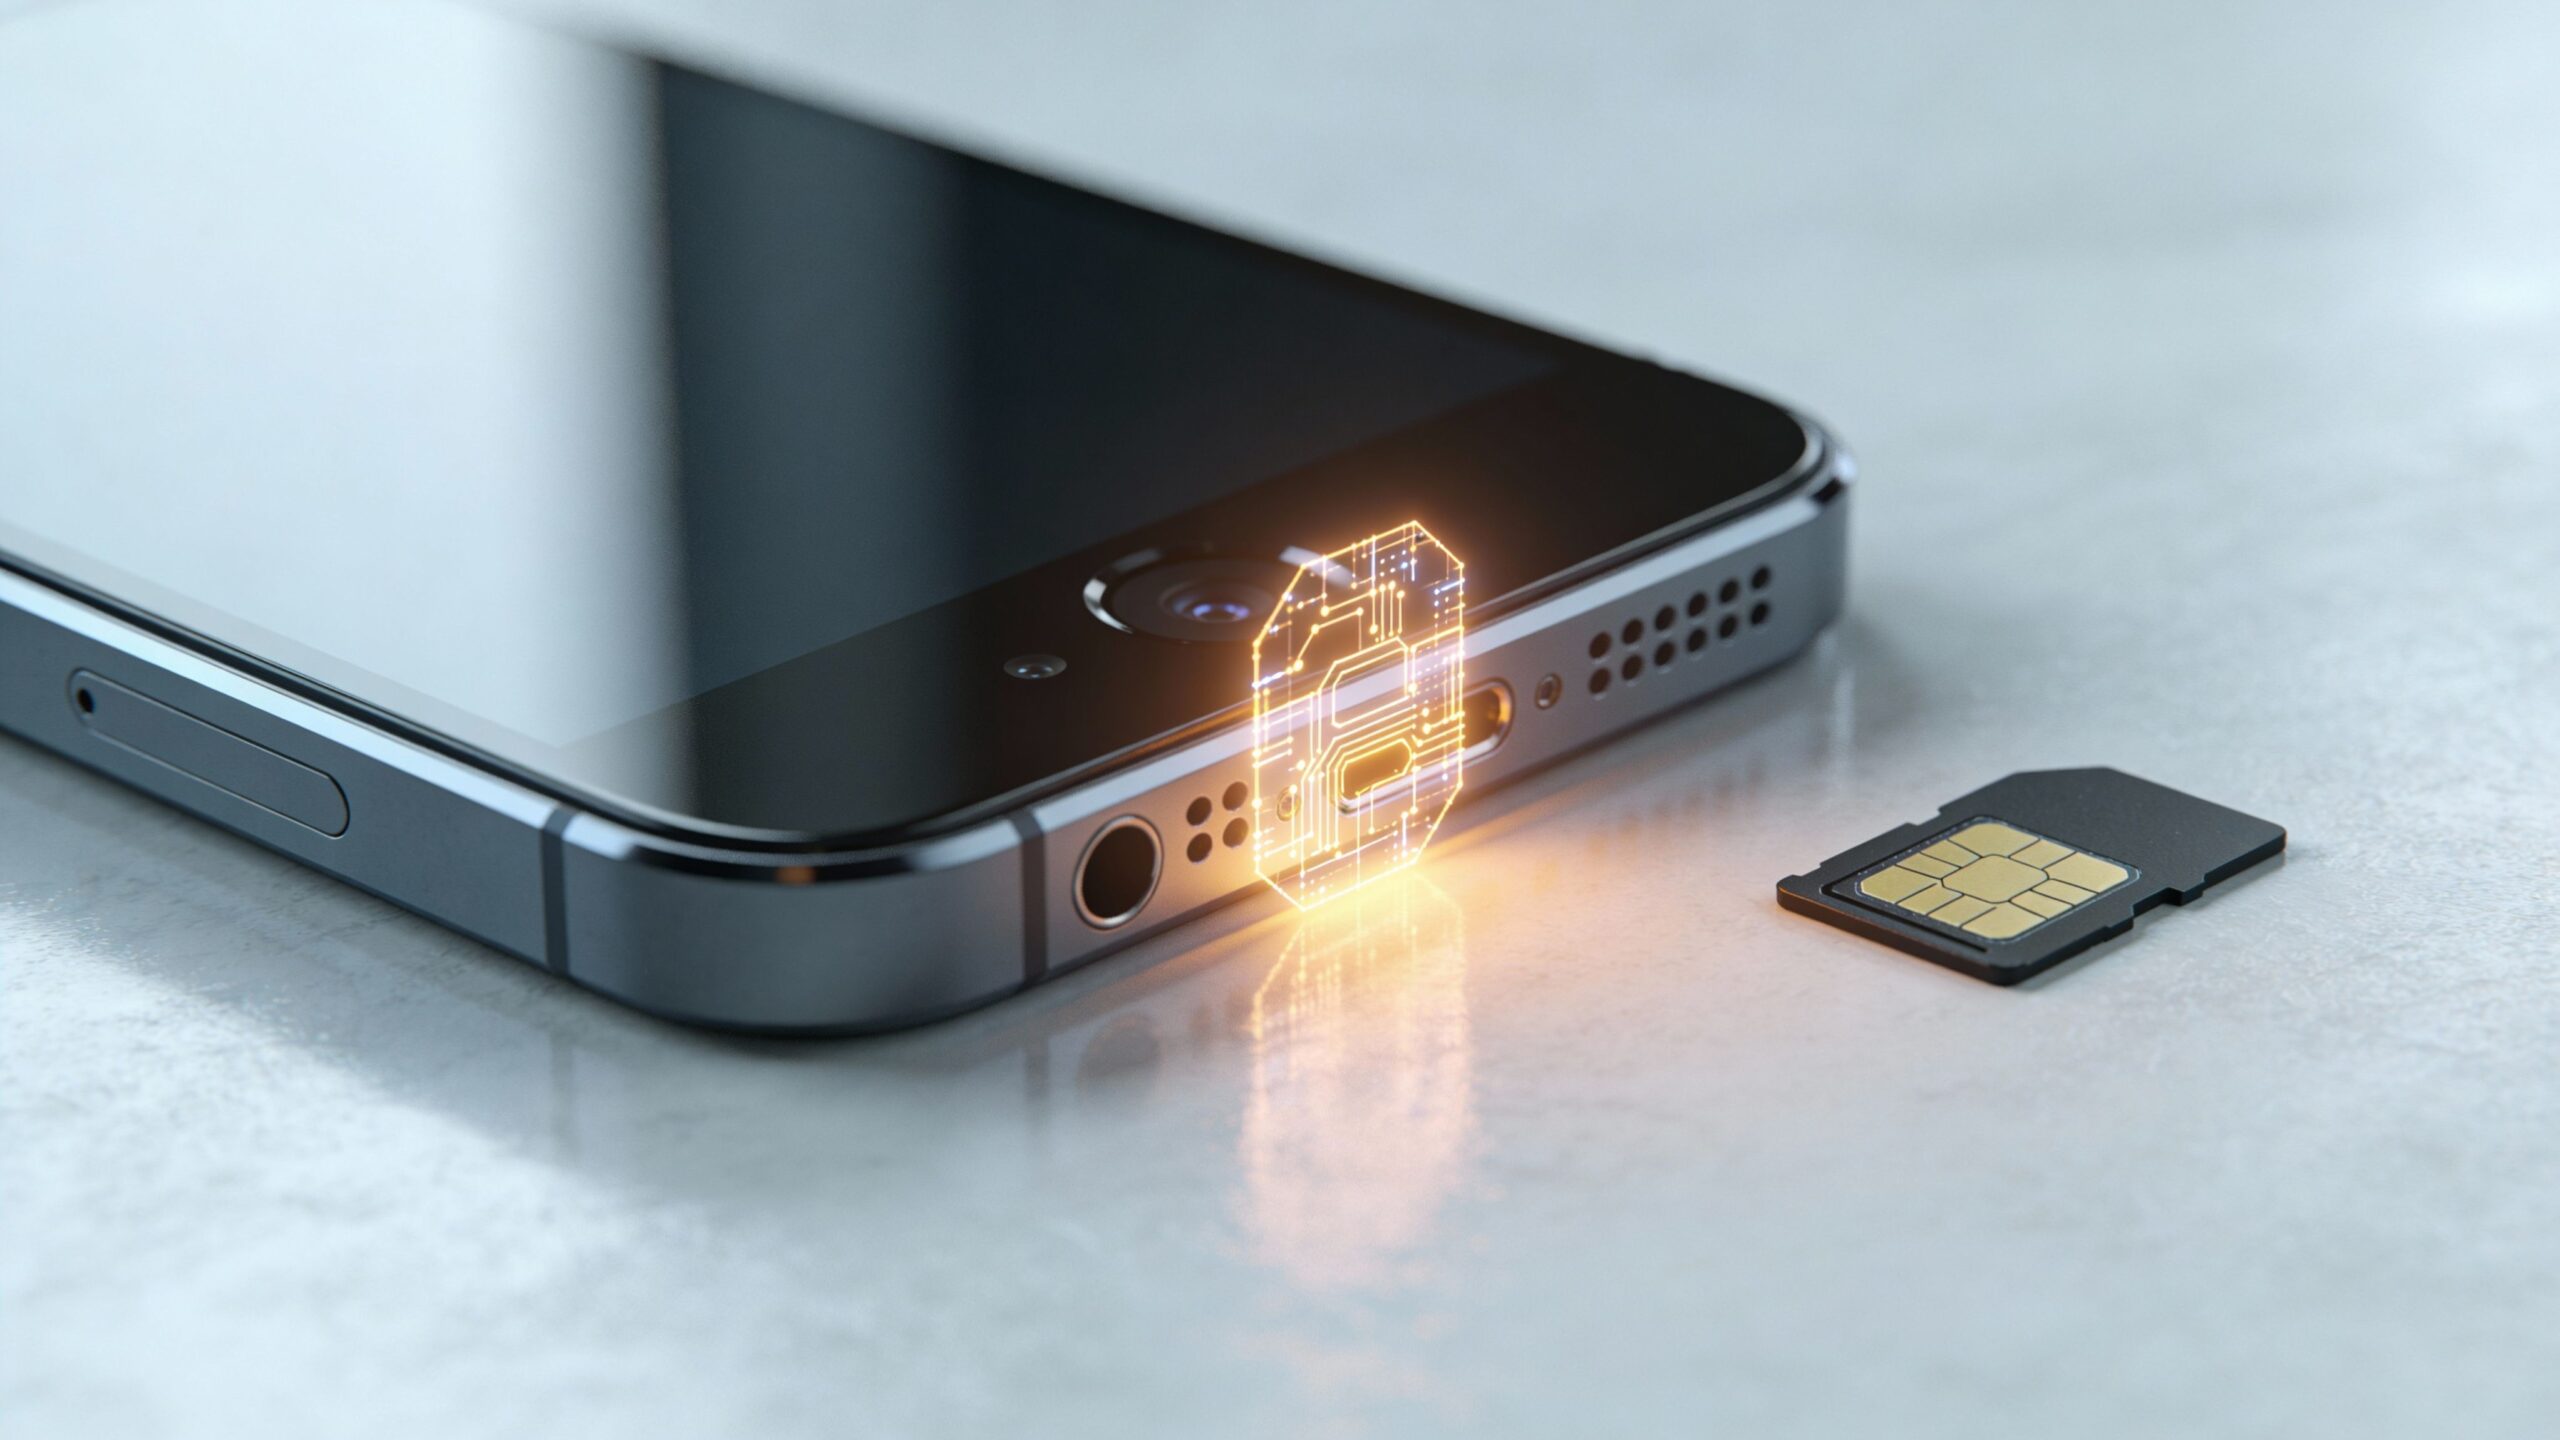
Converting a Physical SIM to an eSIM on iPhone
If you’re currently using a physical SIM and want to switch to an eSIM, many carriers support direct conversion within iPhone settings. After opening Settings and selecting Cellular or Mobile Data, you may see an option to convert your existing plan to an eSIM. Once selected, your iPhone communicates with your carrier to transfer the profile digitally. During this process, your physical SIM becomes inactive, and your service moves entirely to the embedded SIM. This option is ideal for users who want the benefits of eSIM without changing their phone number or carrier. The conversion usually completes within minutes, and your iPhone handles most of the technical work automatically.
Managing Multiple eSIMs and Dual SIM Settings
One of the standout advantages of eSIM on iPhone is the ability to manage multiple plans from a single device. After activation, you can label each plan, choose which one handles calls, messages, or data, and switch between them as needed. This is especially useful for separating personal and work numbers or managing international data plans alongside a primary line. iPhone settings allow you to customize default lines for calls and messages while dynamically switching data based on signal strength or user preference. In 2026, Apple’s interface makes dual SIM management intuitive, even for users new to eSIM technology.
While eSIM activation is usually smooth, occasional issues can arise. If activation fails, the first step is confirming that your iPhone is updated to the latest version of iOS, as software updates often include carrier compatibility improvements. Restarting the device and reattempting activation can resolve temporary glitches. It’s also important to ensure that the QR code or activation link hasn’t expired, as many carriers issue time-sensitive credentials. If problems persist, contacting your carrier directly is often the fastest solution, as they can resend the eSIM profile or verify account eligibility. Most activation issues are minor and easily resolved with a few checks.
Life After Activation: Making the Most of Your eSIM
Once your eSIM is active, the benefits become immediately apparent. Switching plans no longer requires physical cards, international travel becomes simpler, and device design feels cleaner without SIM trays. You can add or remove plans as your needs change, all from within your iPhone’s settings. In 2026, eSIM technology is not just a feature but a foundation for modern mobile connectivity. Activating an eSIM on an iPhone is a straightforward process that opens the door to greater flexibility, security, and control. With the setup complete, your iPhone is ready to move seamlessly through an increasingly connected world.